Do you love fishing? Are you sick of wasting money buying pre-snelled hooks? Believe it or not, learning how to make a snell knot yourself can be easy. All it takes is a little bit of practice and patience,a and you’ll be making snell knots with your eyes closed. If you want to learn how to tie a snell knot on your own, keep reading. Our comprehensive, step-by-step guide on how to tie a snell knot is simple and ideal for beginners and experts alike!
What Is a Snell Knot?
A snell knot is a knot that originated well before there were hooks with eyes. In fact, the word snelling literally means tying a line to a hook. A snell knot is usually used to further secure a line to a hook and ensure it pulls correctly.
Is There a Need for a Snell Knot?
As we learned above, these knots were originally used for hooks without eyes. Today, the method of performing this style of knot includes using the hook’s eye for further fortification. That being said, there is an actual need for this knot in some cases.
Many people like to use snell knots on hooks that are large or deep. Using this kind of knot helps ensure that the line pulls in the same direction that the hook is facing. If you are fishing for large game or trophy fish, you may want to consider using a snell knot for those larger hooks!
Should You Learn How to Tie This Knot?

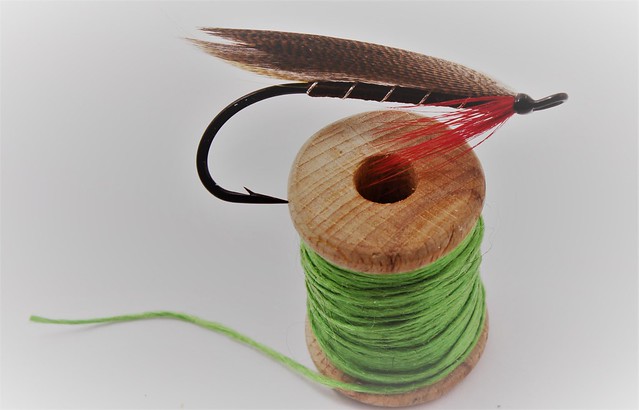
Image via Flickr
If you are a beginner in the fishing world, learning how to tie this type of knot will not only save you money but save you time as well. The snell’s brother is a knot called the uni-knot. Uni, in this case, stands for a universal knot. This type of knot style is so universal that it can be used for many different types and styles of fishing.
Many professionals will argue that it is not all about the type of bait you use and instead the type of knot, hook, and the angle at which you have snelled your hook. If you have been trying everything in your power to catch the right fish including different baits, try snelling your hook. Snelling may just be the key to your beginner’s woes.
Benefits of Snell Knots
There are many benefits to using this style of a knot over other knot styles. First and foremost, you can get better hook sets. Many professionals claim that an adequately snelled hook can turn into the fish’s lip better and, therefore, get you your catch quicker with less effort.
Another benefit to using this knot is that it avoids drudging up unwanted debris from the pond, river, or ocean floor. Many traditional hooks that have a knot right above the eye of the hook have the tendency to pull grass and dirt. Using a knot that sits in line with the hook will help keep your hook clean!
Beginner Tip: Know Your Catch
Before you go out and tie your knot, you will want to ensure your line and knot style are appropriate for the fish you are trying to catch. If the fish you are looking to bait have sharp teeth, you will want to avoid using this type of knot on your hook. The reason we do not suggest snell knots for fish with sharp teeth is that the minute they get their teeth on your coil, you’ll lose your fish. Instead, make sure you are using this knot to catch fish that don’t have teeth sharp enough to cut your line.
How to Tie a Snell Knot in 10 Simple Steps

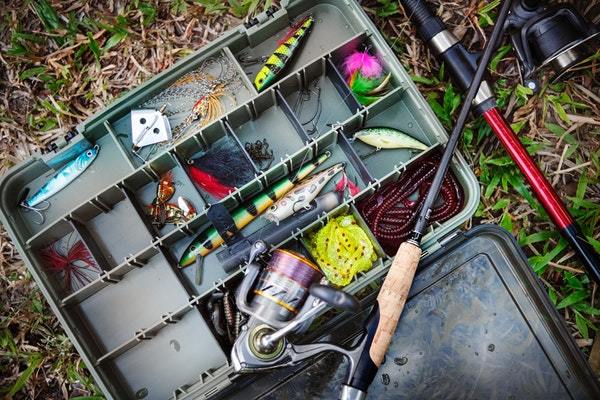
Image via Pexels
Are you sick of spending your money on hooks that are pre-snelled? Well, keep reading! Below we have compiled ten simple steps to learn how to tie a snell knot yourself. If you are having trouble visualizing the steps, grab your hook and line and practice along with us!
Step One: Thread the Line
The first step in learning how to tie a snell knot is to thread the line. Start by pinching your line at the end and guide it through the eye of your hook. This is just like threading a needle so don’t be afraid to ask for help if you struggle seeing up close. After your line is through the eye of your hook, you’ll want to pull it through roughly 8 inches.
Step Two: Form a Loop
The second step to forming a snell knot is to form a large loop. To do this, you will want to start with the end of the line that is through the eye of the hook. Take your end and form a single, large circle with your line.
Step Three: Thread It Through
Next, you will want to take the end of your line, where you just formed the circled, and feed it back through the eye of the hook. Make sure you do not pull the line tight. We suggest feeding around 2 inches of the line through the eye.
Step Four: Pinch the Hook
To secure the circle that you have just created, start by pinching the eye of your hook and the line that runs through it. Make sure that you have at least 2 inches of fishing line running below your pinched fingers. As you pinch, you will want to make sure that your circle is below your fingers as well.
Step Five: Twist
Your next step to learning how to tie a snell knot is to twist your circle around. Make your rotation large enough to wrap around the hook’s end and the end of your fishing line near the hook’s eye. This will twist and secure all of the strands in place.
For this step, you will want to make your twists fairly tight. Keeping your line tight here will help ensure your final product is secure and neat. Don’t be afraid if it’s not extremely tight right now, as you continue to wrap fishing line around the hook it will become tighter.
Step Six: Wrap
The key to performing this knot correctly is a tight finished product. To ensure that your final product is secure you will want to wrap your circle six or seven more times around. Once you are done with this step, it should resemble a small noose.
Step Seven: Pull and Shrink
This next step to create this knot is one of the most exciting because you finally get to see the knot coming together. To start this step, you will want to pull the end of your circle away from the hook. Make sure you continue to pinch the hook at the base of the eye to hold the base strands in place as you pull.
Step Eight: Pull Both Ends
Now you can pull both ends of your line to tighten the strands. If you are having trouble tightening the coils, you can get your line a little wet. Moisture helps the line slide and tighten more effectively.
Step Nine: Trim
If your line has a lot of excess hanging off the tip of your snell knot, you can trim it off. We always suggest around 1/2-inch of leading end sticking out of the tightened coils. This, however, is not necessary.
Step Ten: Done
You are finally done learning how to tie your very own knot. Due to the fact that this is a very secure knot, it is ideal for many different types of fishing. If you don’t think things feel as secure as you had hoped, don’t forget that you can easily re-tighten the knot by tugging on the leading end and the end below the hook’s eye.
Different Types of Knots
There is more than one type of snell knot out there. First and foremost there is what people call the easy snell knot. What makes this knot different is the looping at the beginning of creation. Instead, the easy snell loops the fishing line around and skips creating the circle and securing the base.
The second type of snell knot is a uni-knot. The uni-knot creates a circle but secures half of it to the hook’s base with coils. There are much fewer coils and securing involved in the uni-knot.
Conclusion

Image via Pexels
Fishing is a wonderful pastime and hobby that is enjoyed around the world. If you are someone using fishing as a source of food, learning how to tie a snell knot is even more important for you. Luckily, there are hundreds of step-by-step guides out there, including videos that can walk you through learning how to tie your own knot. All it takes is a little bit of patience and a lot of practice.
Don’t be afraid to ask local fishers for help if you are struggling to tie your knot. If you’ve followed our guide and still can’t get it, you can always purchase hooks that come with the line already attached in a number of fashions. Either way, we wish you the best of luck!
Featured Image: Flickr